When setting up a home gym, stability is key. One critical question often arises: "How to bolt a power rack to the floor?" Doing this properly ensures safety during workouts. An unsecured power rack can tip over. This could lead to serious injury.
Choosing the right location is vital. Consider a sturdy surface. Concrete is ideal. Using the correct bolts will make a difference. Lag bolts or concrete anchors are popular options. Ensure you have the right tools for installation. Follow the manufacturer's guidelines closely. They provide valuable support.
Visualizing the rack's position helps prevent mistakes. Mark the bolt locations clearly. Measuring twice is always wise. Sometimes, equipment needs repositioning. Reflecting on potential hazards is essential. It’s better to take time during setup. A well-secured power rack enhances your gym experience.
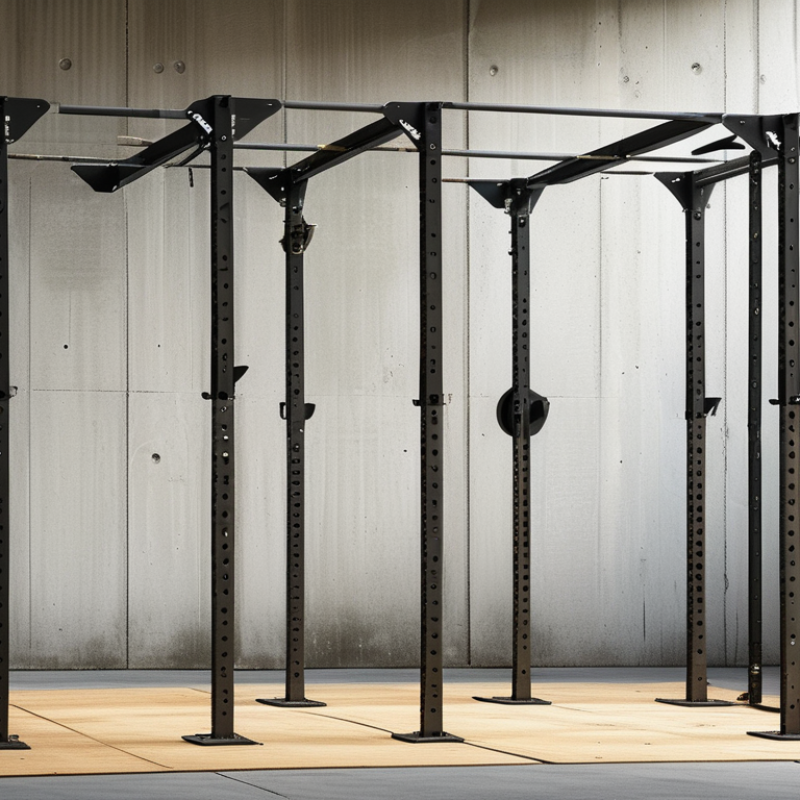
Choosing the right location for your power rack installation is crucial for safety and efficiency. A study by the National Strength and Conditioning Association indicates that optimal rack placement can enhance workout performance by up to 30%. To start, consider the amount of space available. A power rack typically requires a minimum area of 8 feet by 6 feet. This ensures that you have enough room for exercises and movement around the equipment.
Lighting is another essential factor. Bright, well-lit areas can improve visibility and motivation during workouts. Ideally, the rack should be positioned near power outlets for easy access to equipment. Floors should be flat and sturdy; concrete surfaces provide the best support. If installing on wooden floors, reinforcement may be necessary to avoid damage.
Additionally, think about temperature control. Extreme heat or cold can distract from workouts. According to fitness industry reports, a stable environment can reduce fatigue and enhance concentration. Consider the noise level, too, as a loud environment may hinder focus. Reflecting on these factors can lead to a better training experience and secure your power rack installation effectively.
Securing a power rack to the floor is essential for stability and safety during workouts. To begin, gather the necessary tools. You will need a power drill, a socket set, and concrete anchors. The type of concrete anchors you choose is crucial for your rack's stability. According to industry standards, properly anchored racks reduce injury risk by over 50%.
Next, prepare your materials. High-quality bolts and washers are essential for a secure fit. A reliable power rack should be anchored with bolts that penetrate at least 3 inches into the concrete. Ensure you have a measuring tape and a level handy to align your rack accurately. It's surprising how often uneven installations lead to instability. Also, consider the type of flooring your gym has; some materials may require different anchoring techniques.
Lastly, reviewing safety guidelines is vital. A poorly installed power rack can lead to serious accidents. Many instructors recommend double-checking each bolt after installation. Regular maintenance and inspections should be part of your routine. This proactive approach ensures continued safety and effectiveness of your setup.
Preparing the floor surface is essential for securely bolting a power rack. Begin by ensuring the area is clean. Remove any dust, debris, or previous flooring materials that might hinder adhesion. A clean surface helps the bolts grip better. You might find old paint or adhesive residue. Scrape or sand these off to achieve a smooth, flat surface.
Consider the type of flooring too. Concrete is usually the best choice. If you are working with wood, check its integrity. Soft or rotting sections can compromise stability. You may need to reinforce the wood before installation. Always measure the power rack's footprint. Mark the bolt positions accurately. Misplaced bolts can lead to instability during heavy lifts. A precise setup minimizes errors and enhances safety.
Remember, even with the right preparation, mistakes can happen. If your rack sways or feels loose, it may be time to reassess. Regular checks after use ensure everything remains secure. Your safety is paramount when lifting heavy weights.
Securing a power rack to the floor is crucial for safety. Stability ensures that heavy weights won’t tip or topple the rack. According to the National Institute for Occupational Safety and Health, improperly secured equipment can lead to injuries. The position of your bolts directly affects stability.
To maximize stability, carefully choose a drilling pattern. Start by marking the bolt locations at the base of the rack. Use a level to ensure accuracy. Drill holes in a staggered pattern, providing better weight distribution. Industry standards suggest using at least four bolts, ideally six for larger racks. This configuration allows for optimal load-bearing capabilities.
Also, consider the surface material when drilling. Concrete floors provide the best grip. Use appropriate anchors for different surfaces. Rusted or weak anchors can compromise safety, leading to failures. Regularly check the bolts and anchors for wear. Reflecting on these details can help maintain a safe workout environment.
After securing a power rack to the floor, a thorough inspection is crucial. Check the stability of the bolts and ensure that they are firmly set. According to industry standards, equipment should withstand at least 8 times its expected load. This ensures safety during intense workouts.
Look for signs of wear or any movement in the rack. Even minor shifts can indicate improper installation. Proper torque settings are vital; they should not exceed manufacturer specifications. Frequent reviews of your setup can help maintain safety.
Keep in mind that different flooring types may affect stability. Concrete, for instance, provides a much more secure anchor than wood. Collect data on how your setup performs over time. Evaluating your installation regularly can prevent accidents and injuries.
: The right location boosts safety and workout efficiency by up to 30%. Space matters greatly.
You need at least 8 feet by 6 feet of space to move around the equipment safely.
Bright lighting improves visibility and can enhance motivation during exercises. It’s important to consider.
Yes, concrete is ideal. Wooden floors may need reinforcement to ensure stability and prevent damage.
Clean the surface by removing dust and debris. Old paint can hinder the grip of the bolts.
Reassess the installation. Regular checks are crucial for safety. Mistakes can happen, so stay vigilant.
Stable temperatures reduce fatigue and enhance focus. Extreme conditions can be distracting and impact performance.
A loud environment may hinder focus. Try to install your rack in a quieter area for better concentration.
Securing your power rack to the floor is essential for safety and stability during workouts. To answer the question, "How to bolt a power rack to the floor?", start by choosing an appropriate location that provides ample space and support. Gather all necessary tools and materials, including anchors, bolts, and a drill. Before installation, prepare the floor surface to ensure proper attachment and maximum stability.
Once the area is ready, carefully drill holes and position bolts according to the manufacturer's guidelines. This step is crucial to prevent wobbling during heavy lifts. Finally, conduct a thorough safety inspection after installation to verify that everything is secure. Following these steps will ensure that your power rack is safely bolted to the floor, providing a solid foundation for your strength training.

GoLive Fitness